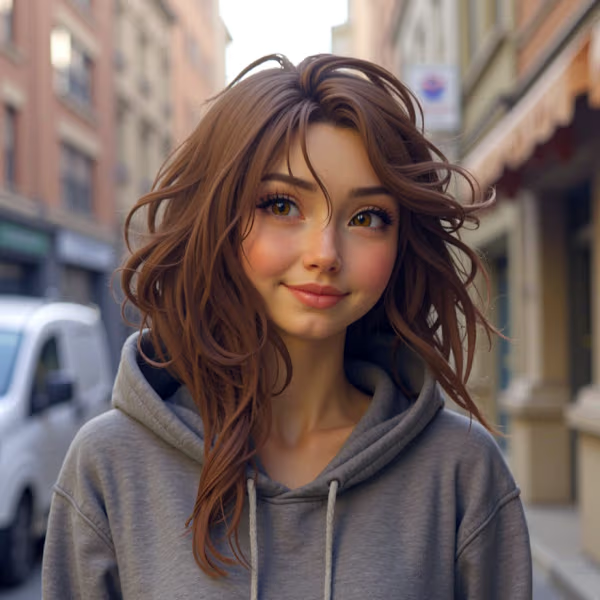


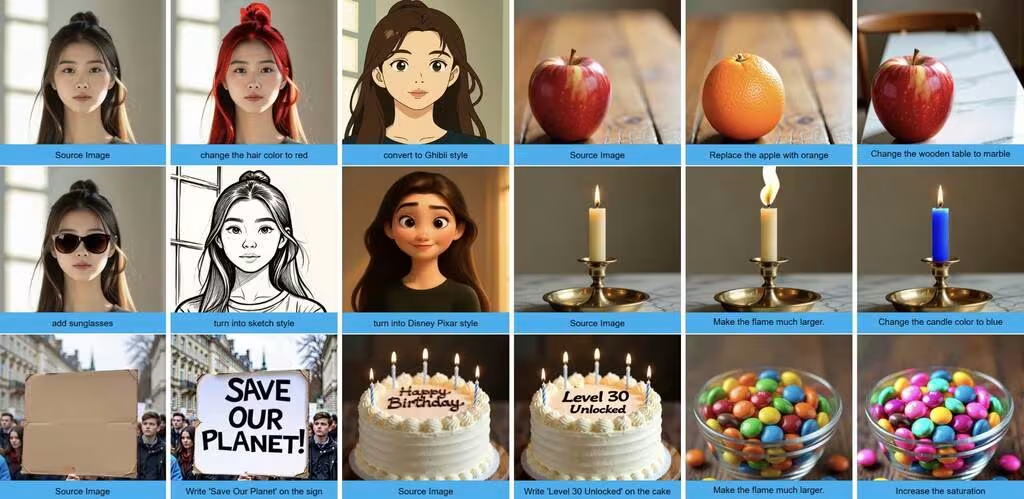

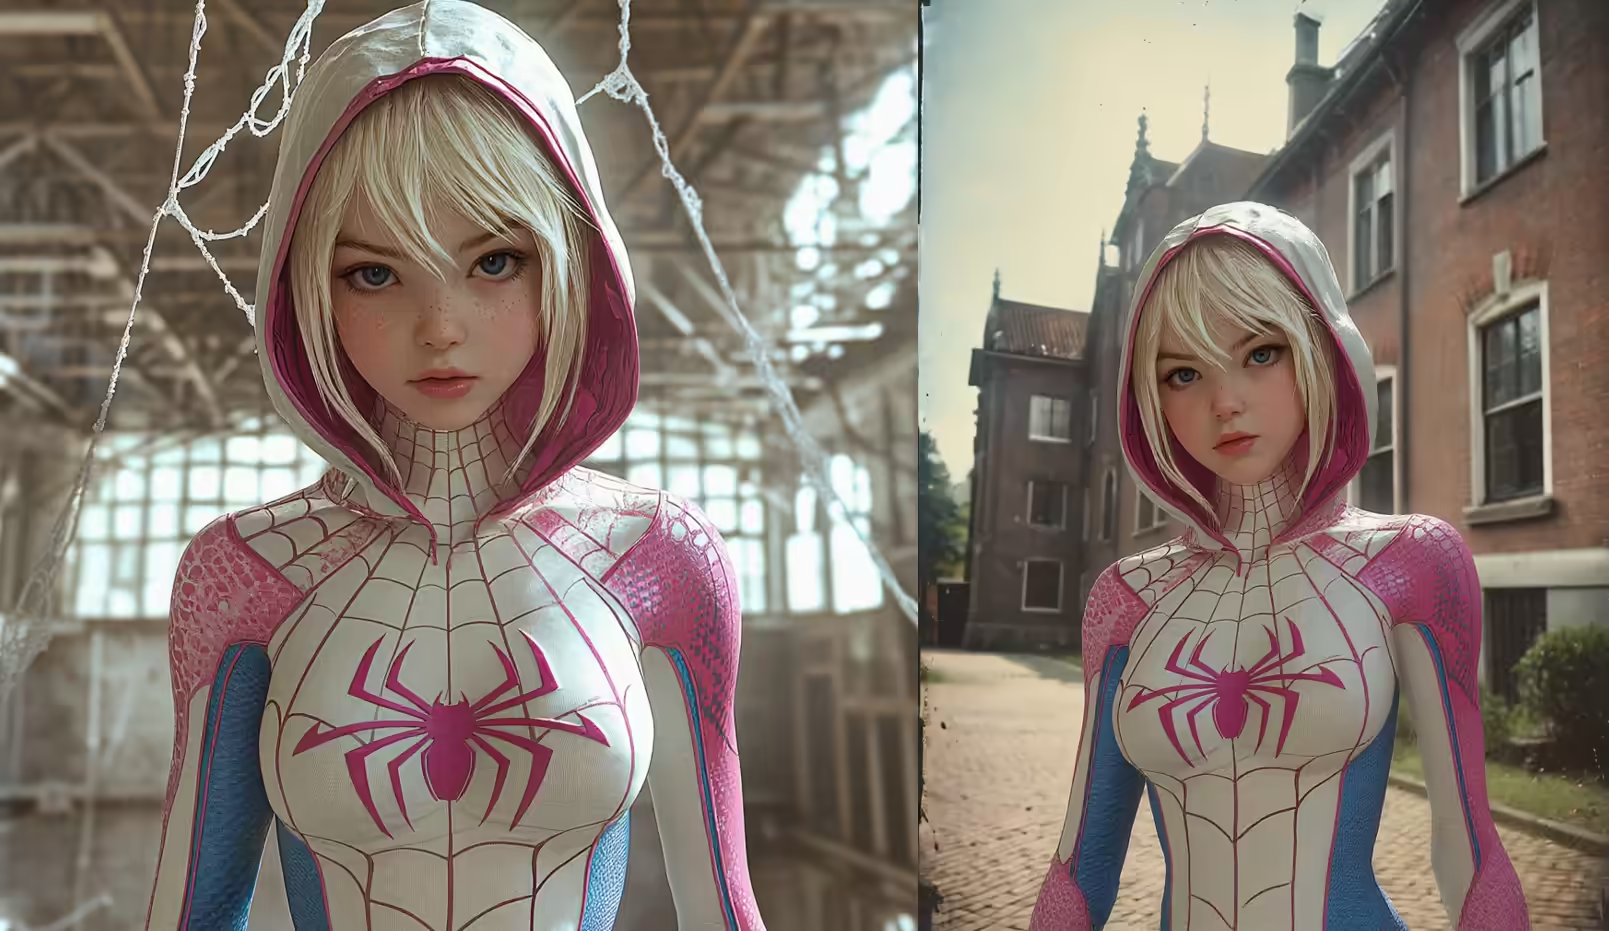
Let’s be real—editing images to blend two completely different visuals used to be a pain. You’d mask an area, tweak prompts, and still end up with awkward mismatches in lighting or style. But Flux Redux changes that. I tried it for merging a portrait with a Spider-Woman reference, and the results were shockingly cohesive. Here’s how it works.
How Flux Redux Handles Advanced Inpainting
Flux Redux isn’t just another inpainting tool. It uses a style reference image to guide the generation, so the final output doesn’t just replace pixels—it blends them naturally. For example, when I masked a girl in a street photo and used a Spider-Woman image as the style reference, the model preserved the original pose and lighting while seamlessly integrating the superhero aesthetic. No weird color clashes or distorted proportions.
Setting It Up
First, grab the inpainting workflow from the ComfyUI examples page. The workflow includes three variants:
- Auto Prompt Inpaint + Style Transfer: Lets the model handle the styling automatically.
- Manual Text Prompt Inpaint: For when you want precise control over the output.
- Basic Inpaint: A no-frills option without style transfer.
You’ll need a few models:
- Diffusion Model:
Flux Dev 1 Fill(orFlux 1 Fill Dev FP8if you’re tight on VRAM). - Dual Clip Loader: Pair
T5XXL FP16withClip I Flux(set to “Flux”). - Style Model:
flux1-redux-dev.safetensorsfrom Black Forest Labs. - Clip Vision:
SigClip Vision Patch 14 384—this one’s critical for style alignment.
Drop these into their respective folders (the workflow will yell at you if they’re missing).
The Process
- Upload Your Base and Style Images: The base image is what you’ll edit (e.g., the girl photo), and the style image (Spider-Woman) dictates the aesthetic.
- Mask the Target Area: Use ComfyUI’s masking node to highlight the region you want to transform. Precision here matters—jagged edges or incomplete coverage will show in the output.
- Run the Workflow: Hit queue and let Flux Redux work its magic.
What surprised me was how well it handled subtle details. The background stayed untouched, and the Spider-Woman suit adapted to the original photo’s lighting. No manual tweaking needed.
Why It Beats Basic Inpainting
Without Flux Redux, merging images often feels like slapping a sticker onto a photo—the edges never quite fit. But with the style reference, the model adjusts textures, shadows, and even minor reflections to match. It’s not perfect—complex poses can still trip it up—but for most cases, it’s leagues ahead of traditional inpainting.
For the models, here’s where to get them:
If you’re experimenting, try swapping style images—cartoon references, paintings, even abstract art can yield wild results. Just keep an eye on VRAM; the FP8 model is a lifesaver for weaker GPUs.