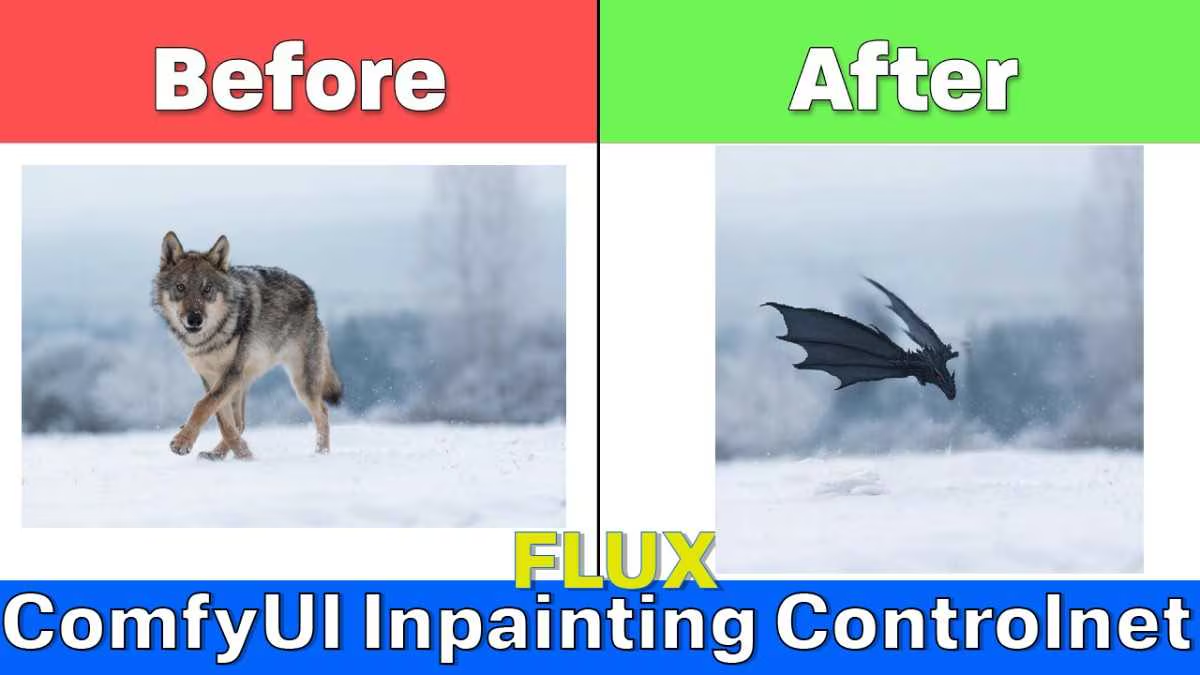
ComfyUI Inpainting with Flux Control: Fixing Images Without Starting Over
Let’s be real—sometimes you get 90% through an image and realize one tiny part needs to change. Maybe it’s a weird artifact, or you suddenly decide that hat would look better as a beanie. Starting over feels like a waste, right? That’s where ComfyUI inpainting with Flux ControlNet comes in.
How It Actually Works
I dragged in an image where the subject’s hand looked… off. Instead of redoing the whole thing, I masked the hand and typed “relaxed fingers, natural pose” as the prompt. The Flux ControlNet model handled the rest, blending the new content so it matched the lighting and style of the original.
Here’s the thing: it’s not just for fixes. I tested it by masking a blank wall and prompting “bookshelf with vintage books,” and the result was shockingly cohesive. The key is the ControlNet’s ability to respect the existing structure while filling gaps logically.
Setting It Up
First, grab the Flux ControlNet inpainting model from Hugging Face. Drop it into ComfyUI/models/controlnet. Then, load the inpainting workflow (just drag the image into ComfyUI).
I ran this on a 768×768 image—smaller resolutions sometimes struggle with detail. The “strength” slider mattered more than I expected: 0.75–0.9 gave the best balance between creativity and fidelity. Lower values left artifacts; higher ones ignored the original composition.
Where It Shines (And Stumbles)
The biggest win? Time saved. But it’s not magic—complex textures like hair or fabric folds sometimes need manual tweaks afterward. For quick object swaps or background extensions, though, it’s become my go-to.
Resources
Node: https://github.com/alimama-creative/FLUX-Controlnet-Inpainting
Controlnet Model: https://huggingface.co/alimama-creative/FLUX.1-dev-Controlnet-Inpainting-Alpha/tree/main


