


1. Install project dependencies and environment configuration
First, we find the terminal of the Mac computer and open it. We copy the following code and paste it into the terminal, then press Enter to start installing the Xcode tool.
xcode-select --install
If running the installation again returns the following error, we have successfully installed it.
xcode-select: error: command line tools are already installed, use "Software Update" in System Settings to install updates
Install Python 3 and check the version
. Open the website: https:// brew .sh/ and copy the code on the website to the Mac terminal to install Brew. After the installation is complete, enter the following codes to install Python and git separately, and then enter the following three columns of code to query the version. If a version is displayed, our operation is correct, otherwise the installation is not complete.
brew install python3
brew install git
---
python3 --version
pip3 --version
git --version
Visit Visit 2. Install Comfyui
Clone Comfyui to local
computer Enter the following code to clone ComfyUI to the local computer, then enter CD ComfyUI to enter the directory file, and then enter PWD to confirm in the file directory.
git clone https://github.com/comfyanonymous/ComfyUI
Install the corresponding virtual environment.
The first line of code below enters the ComfyUI folder first, the second line of code installs the virtual environment, and then the third line will display the current folder (with an extra Venv), the fourth line of code activates the virtual environment, and if you want to exit the virtual environment, enter the last line of code. The same code is used to reactivate or exit.
cd ComfyUI

python3 -m venv venv

ls

source venv/bin/activate

deactivate
Install Pytorch Nightly Build
Enter the following command to install Pytorch Nightly Build. After the installation is complete, enter clear to clear the installation information.
pip3 install --pre torch torchvision torchaudio --extra-index-url https://download.pytorch.org/whl/nightly/cpu
Download the model
Open the website: https://huggingface.co/, find the model named “sd_xl_turbo_1.0_fp16.safetensors” at the bottom of the page and download it
cd custom_nodes
git clone https://github.com/ltdrdata/ComfyUI-Manager
Visit Visit 3. Download and run the Comfyui model
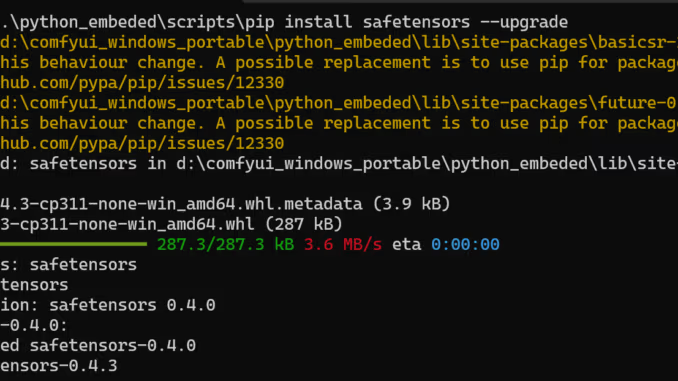
Install Python dependency package
After cloning is complete, we need to return to the ComfyUI directory, which is the parent directory of ComfyUI/custom_nodes, enter CD …, and then Pwd to check whether the current directory is ComfyUI. If so, we execute the next step of the code to install the Python dependency file package.
cd ..
pip install -r requirements.txt
Load the model and start ComfyUI
After the above model is downloaded, we open the computer Finder, click Go above, and then enter the folder address obtained by pwd, copy the model to this directory, and then we need to enter CD twice… Return to the ComfyUI directory, then load the model (above), and finally return to a link to our local computer: http://127.0.0.1:8188/. We only need to copy this link to the browser to open it, and the following interface will appear, which means that the installation of ComfyUI is completed.
cd models/checkpoints
python main.py --force-fp16
Note:
When we close the “Terminal” window, if we want to open CompyUI again, we only need to enter the ComfyUI folder in the terminal again, and then run the following code. If it prompts that we are missing some Models , we need to reinstall Python’s dependency files. Of course, we can also download other models to try the effect ourselves, which I will continue to update in the following articles.
python main.py --force-fp16
pip install -r requirements.txt