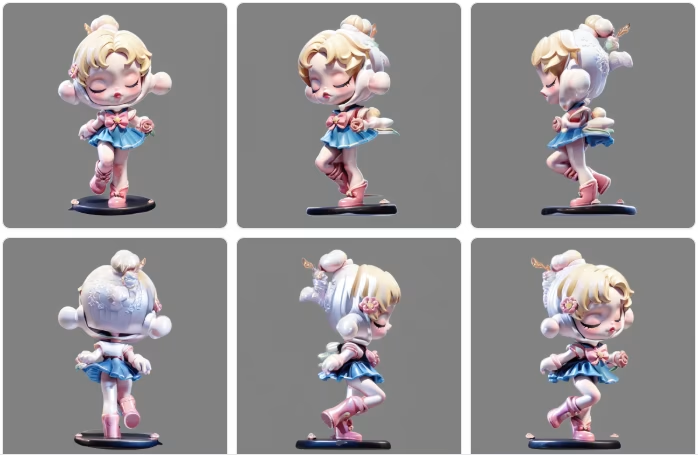
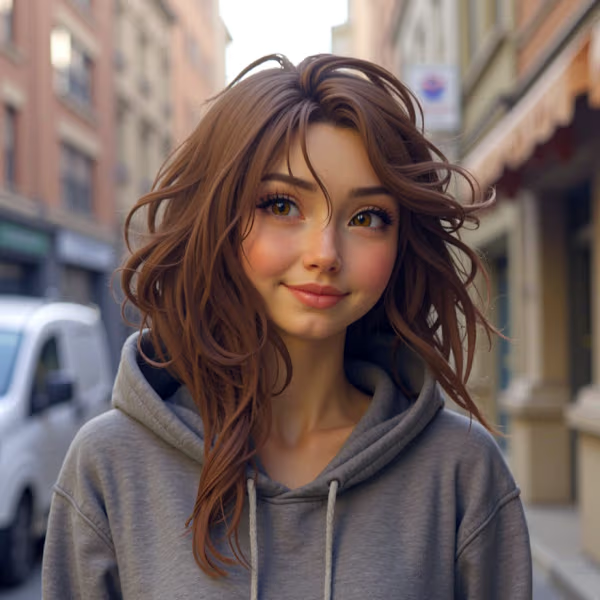
I’ve been messing around with MV-Adapter in ComfyUI lately, and it’s been a mix of “this works surprisingly well” and “why is this breaking now?” Here’s what I’ve figured out so far.
Getting the Prompts Right
At first, I was just throwing in basic stuff like “a cat” and wondering why the results looked generic. Then I tried being way more specific—something like “a fluffy orange tabby with blue eyes, sitting on a wooden chair in soft morning light.” That made a huge difference.
The style part matters too. Adding “3D style” or “realistic painting” gave me way more control over how things turned out. One prompt that actually worked better than I expected was: *”3D style, a decorative figurine of a young anime-style girl with pink hair and a shy smile, standing in a sunny garden.”* It’s weird how much those little details change things.
Settings That Actually Worked
I stuck with SDXL for most of my tests because the quality was just better. SD 2.1 works too if you’re okay with slightly lighter outputs, but I kept going back to SDXL.
For image size, 768×768 gave me the clearest results without slowing things down too much. I set the steps to 50—anything lower and the details got messy. The CFG scale at 7 seemed to be the sweet spot where it followed the prompt but didn’t go overboard.
The MV-Adapter node itself was straightforward once I figured out the sampler. Setting it to generate six views gave me enough angles to work with. If you’ve got a GPU, definitely enable it—the speed difference is noticeable.
Upscaling Made Things Sharper
After generating the multi-view images, I ran them through the 4x Megapixel Upscaler. The difference was pretty wild—details like fabric folds and hair textures got way cleaner. If you’re working on something detailed, it’s worth the extra step.
https://www.mediafire.com/file/txp3gv5mxl1av99/comfyuiupsacle.pth/file
Fixing Random Errors
At one point, the background removal kept failing. Turns out I needed to replace the nodes.py file in the ComfyUI MV Adapter folder. After that, it worked fine. If you’re on a GPU and hitting errors, try disabling GPU mode first.
https://www.mediafire.com/file/rhddod5pgyk9xxe/nodes.py/file
For textures and finer details, I used the 3d_render_style_xl.safetensors LORA. It’s on Hugging Face if you want to try it.
Anyway, that’s where I’m at with MV-Adapter so far. It’s not perfect, but when it works, the results are solid. Let me know if you’ve found better tweaks—I’m still figuring this out.
https://huggingface.co/goofyai/3d_render_style_xl/blob/main/3d_render_style_xl.safetensors

