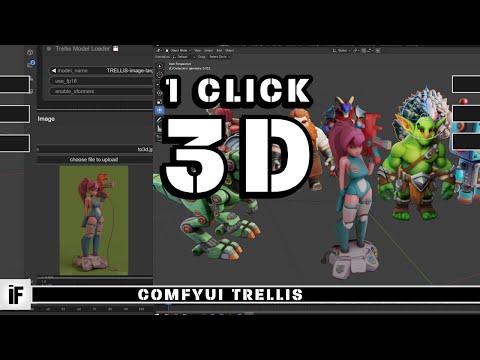
I’ve been messing around with ComfyUI Trellis lately, and honestly, it’s one of those tools that just works. No endless tweaking, no convoluted steps—just drag, drop, and get a 3D model. Here’s how it went for me.
What Trellis Actually Does
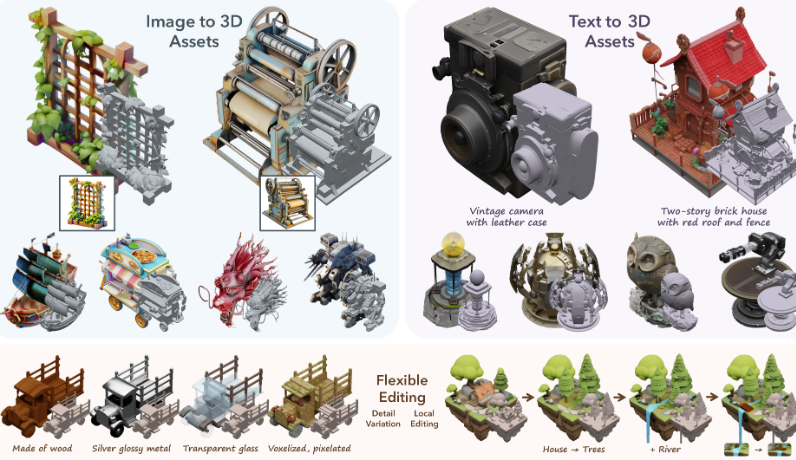
Trellis takes text or images and spits out 3D assets—meshes, radiance fields, the whole deal. It’s not magic, but it’s close. I threw a few prompts at it, and the results were surprisingly solid. Not perfect, but way better than I expected for something this straightforward.
Setting It Up
First, you’ll need a decent GPU. I used an NVIDIA A100, but anything with 16GB VRAM should handle it. The docs say Windows works best, but Linux might too if you’re feeling adventurous.
I cloned the repo into my ComfyUI custom_nodes folder—standard stuff. The tricky part was the extra dependencies. Things like diffoctreerast and nvdiffrast took a minute to install, but the GitHub README walks you through it. If you’ve set up ComfyUI before, this’ll feel familiar.
The Workflow
After installation, I dragged the Trellis node into my canvas. No fancy configuration—just plugged in a text prompt and hit run. The first try was… slow. Like, “make coffee” slow. But the output? A fully textured 3D model with zero manual tweaking.
I tried a few more prompts, and the consistency was hit-or-miss. Simple shapes worked great; complex scenes needed more refinement. Still, for a one-click tool, it’s impressive. If you’re curious, the Trellis GitHub has the full setup details.
cd ComfyUI/custom_nodesWhy Bother?
Most 3D tools feel like solving a puzzle blindfolded. Trellis removes the guesswork. It’s not replacing Blender, but for quick prototypes or brainstorming, it’s stupidly convenient. The outputs aren’t studio-quality, but they’re good enough to build on.
git clone --recurse-submodules https://github.com/if-ai/ComfyUI-IF_Trellis.gitpip install git+https://github.com/EasternJournalist/utils3d.git@9a4eb15e4021b67b12c460c7057d642626897ec8
New-Item -ItemType Directory -Force -Path C:\tmp\extensions
git clone --recurse-submodules https://github.com/JeffreyXiang/diffoctreerast.git
C:\tmp\extensions\diffoctreerast
pip install C:\tmp\extensions\diffoctreerast
git clone https://github.com/autonomousvision/mip-splatting.git C:\tmp\extensions\mip-splatting
pip install C:\tmp\extensions\mip-splatting\submodules\diff-gaussian-rasterization\
pip install kaolin -f https://nvidia-kaolin.s3.us-east-2.amazonaws.com/torch-2.4.0_cu121.html
git clone https://github.com/NVlabs/nvdiffrast.git C:\tmp\extensions\nvdiffrast
pip install C:\tmp\extensions\nvdiffrastBiggest downside? The VRAM hunger. My A100 choked on high-res outputs, so temper your expectations if you’re on consumer hardware.


