


I’ve been playing with AI avatar tools for a while now, and most of them struggle with lip sync. It’s either too robotic or just slightly off. So when Alibaba dropped Fantasy Talking, built on their Qwen 2.1 model, I had to try it.
Here’s the thing—it’s better than anything else I’ve tested for facial expressions, but it’s not perfect. Timing is everything, and if you don’t dial in the settings right, you’ll get awkward delays where the mouth movements lag behind the speech.
But when it works? The results are surprisingly natural. It doesn’t just animate a mouth—it renders the entire face, complete with micro-expressions during pauses. That’s something most tools completely miss.
Getting Started with Fantasy Talking
If you’re comfortable with the command line, setup is straightforward. I cloned the GitHub repo first:
git clone https://github.com/Fantasy-AMAP/fantasy-talking.gitThen grabbed the 14B model files (about 1.6GB). The whole thing took maybe 10 minutes on a decent connection. There’s also a Hugging Face demo if you don’t want to install locally, but the real flexibility comes from running it yourself.
One thing to note—this isn’t a video editor. You feed it an image and an audio file, and it generates a new video from scratch. The cool part? You can tweak how animated the character is using simple text prompts.
You Can Try it Online: https://huggingface.co/spaces/acvlab/FantasyTalking
Running It in ComfyUI
First You Need to Update Two Nodes Manually
- KJ Nodes
- ComfyUI-WanVideoWrapper
This is where things got interesting. I started with the basic Qwen wrapper example and modified it for my tests. The setup involves:
- Loading the Qwen Wan 2.1 image-to-video model (the 480p version works best for most setups).
- Configuring the VAE and text encoder—standard Qwen components.
The real magic happens in the image prep nodes. Resizing everything to 512×512 gave the best balance between quality and performance, though you can push it to 1024×1024 if your GPU can handle it.
What most guides don’t mention is how crucial frame rate settings are. My first attempts looked janky because I left it at the default 16 FPS while my audio was rapid speech. Bumping it to 24 FPS fixed the sync issues instantly.
Dialing in the Settings
Here’s where I kept messing up: FPS mismatches. At 16 FPS, quick dialogue made the avatar look like it was chewing gum. But at 30 FPS, mouth shapes actually matched the audio.
A few tips:
- Analyze your audio first—fast speech needs at least 25-30 FPS.
- Start with a CFG scale of 7-9 for subtle movements before going dramatic.
- The Wave2Vec model (which handles phoneme analysis) sometimes stumbles on hard “P” sounds—adding slight pauses helps.
The body language controls are where this really shines. With simple text prompts, I made the same avatar deliver identical lines with completely different energy—subtle nods vs. dramatic hand waves.
Final Thoughts
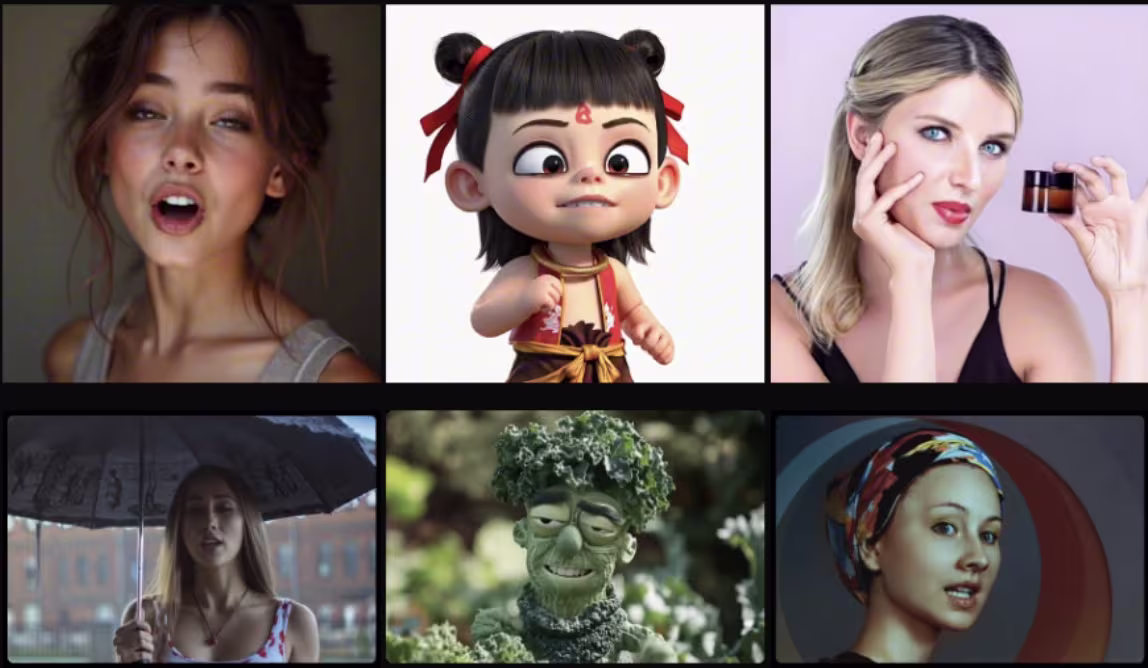
After testing everything from photorealistic faces to anime characters, the lip sync adapts surprisingly well. Stylized mouths (like tiny anime ones) sometimes struggle with wide vowels, but overall, it’s impressive.
The best use case? Batch-generating social clips. Once I set the right FPS (28 worked for my “influencer’s” speech pattern), it was smooth sailing.
A few final takeaways:
- Always preview your audio waveform first—those rapid spikes mean higher FPS.
- For looping clips, generate 2-3 extra seconds and trim in post.
- The Wave2Vec model isn’t perfect, but it’s way better than I expected.
Models you’ll need: