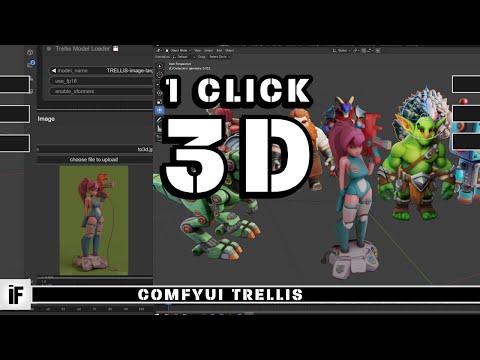
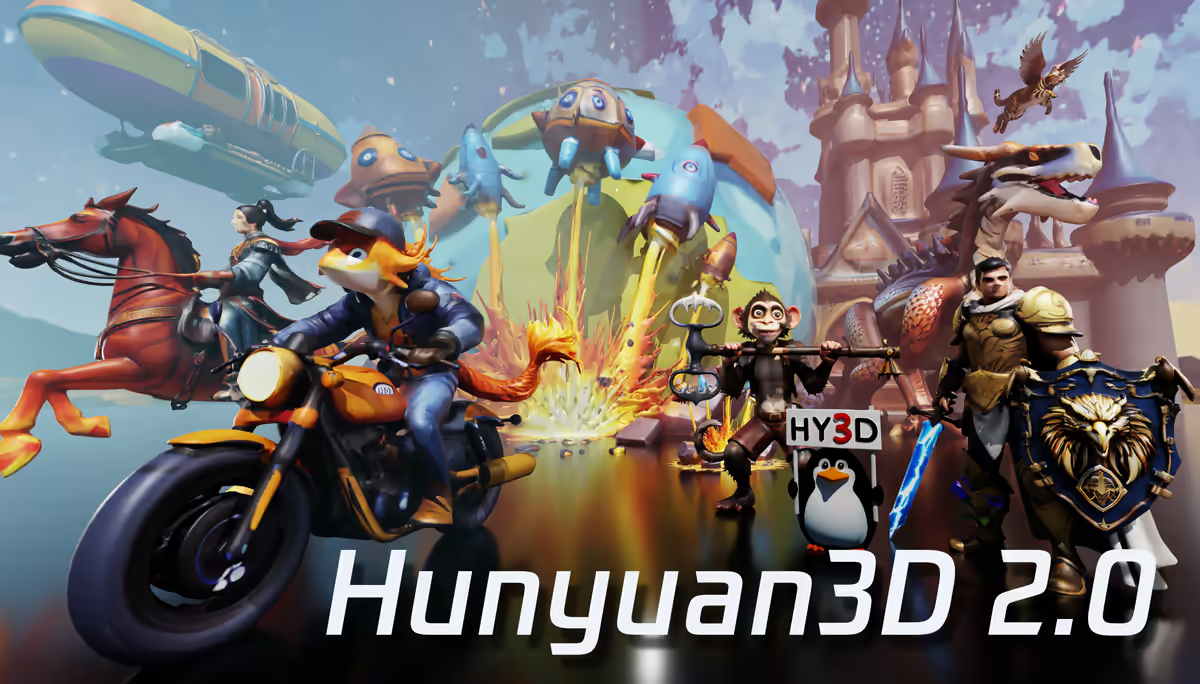
I’ve been messing with Hunyuan3D in ComfyUI lately, and let’s be real—it’s way easier than I expected for generating 3D models. If you’ve ever struggled with traditional 3D tools, this one feels like cheating. Here’s how it went for me.
What’s Hunyuan3D?
Hunyuan3D is one of those models that just works. It’s got two main parts: one for creating the mesh (Hunyuan3D-DiT) and another for painting textures on it (Hunyuan3D-Paint). The cool part? You don’t need a beastly GPU to run it. Even with 6GB VRAM, you can get decent results, which is wild for 3D generation.
Getting It Running
First, I grabbed the model files—the original .ckpt and the converted .safetensors version. I dropped them into ComfyUI/models/diffusion_models/, same as any other model. Then I cloned the ComfyUI-Hunyuan3DWrapper into the custom nodes folder.
The dependencies were straightforward. I just ran pip install -r requirements.txt in my Python environment. If you’re using the portable version of Python, the command’s a bit different, but it’s all in the wrapper’s GitHub page.
Model Files
- Original Model (.ckpt): Hunyuan3D Original Model
- Converted Model (.safetensors): Hunyuan3D Safetensors
The texture generation part needed a precompiled rasterizer.
Installing the Precompiled Rasterizer
Run one of the following:
custom_rasterizer-0.1-cp312-cp312-win_amd64.whl
Standard Environment
pip install wheels\custom_rasterizer-0.1-cp312-cp312-win_amd64.whlPortable Installation
python_embeded\python.exe -m pip install ComfyUI\custom_nodes\ComfyUI-Hunyuan3DWrapper\wheels\custom_rasterizer-0.1-cp312-cp312-win_amd64.whlI installed the .whl file, and it worked without issues on Windows 11 with Python 3.12. If your setup’s different, you might need to compile it manually, but the repo has instructions for that too.
First Impressions
I dragged in one of the example workflows from the ComfyUI examples page, and it just worked. The model spat out a textured 3D asset in minutes, no manual tweaking needed. The quality wasn’t Pixar-level, but for something automated, it’s impressive.
The biggest surprise? How little VRAM it used. I’ve tried other 3D tools that choked on my setup, but Hunyuan3D ran smoothly even on lower settings.
Anyway, if you’re curious, give it a shot. The official Tencent repo has more details, but honestly, the ComfyUI integration makes it stupidly simple to try.


