


Let’s be real—most multimodal models either do text-to-image or image understanding, but rarely both well. I was curious if DeepSeek’s Janus Pro could actually handle both without feeling janky, so I gave it a shot in ComfyUI.
Here’s what actually happened.
Getting Janus Pro Running
First, I grabbed the model files from Hugging Face—there’s a 7B version and a 1B variant. The setup was straightforward:
- Installed the custom node via ComfyUI Manager (no manual pip stuff needed, which was nice)
- Dropped the model files into
ComfyUI/models/Janus_Pro - Restarted and loaded it up
If Janus_Pro Folder si not Their Create a folder in your Comfy UI directory with the following path:
ComfyUI/models/Janis Pro/Janis Pro 7B Place all the downloaded model files in this folder.
Image Generation: Faster Than Expected
I hooked up the Janus Pro loader node to an image generation workflow, fed it a basic prompt (“a man in a red T-shirt working on a laptop”), and… it actually spit out something usable.
Was it Stable Diffusion XL quality? No. But for a 7B model, the coherence surprised me—clean edges, decent lighting, and no nightmare fuel artifacts.
The real test was tweaking the CFG scale and temperature. At lower values (1.5-2.5), outputs were more creative but sometimes off-prompt. Crank it to 3.5+, and it stuck rigidly to descriptions.
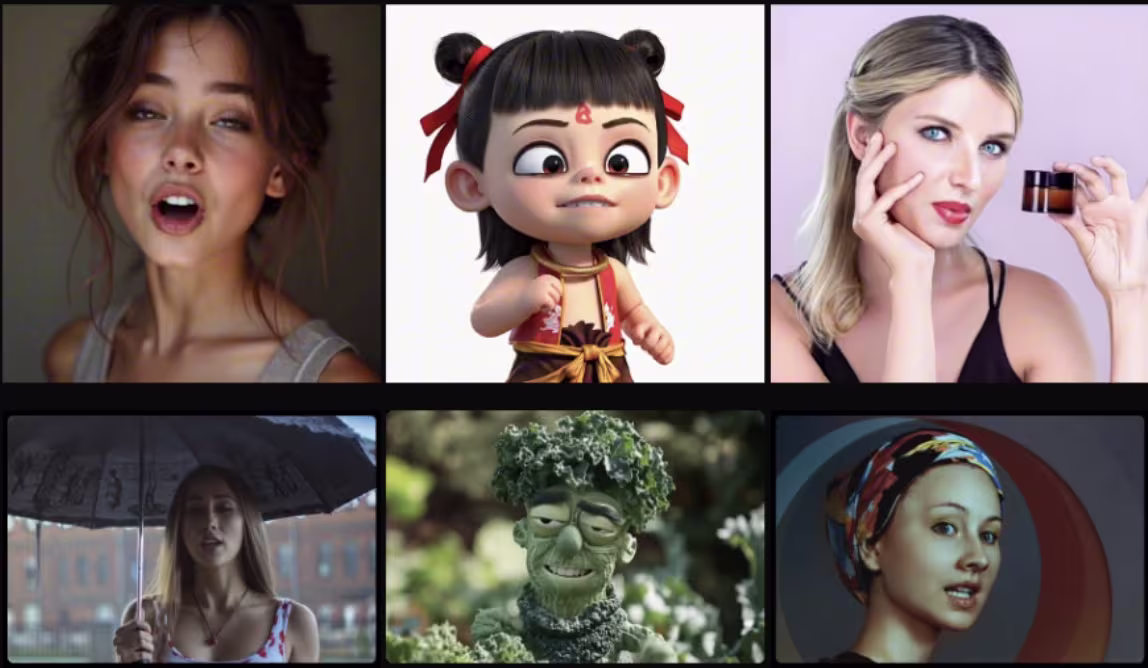
Image Understanding: Weirdly Good at Details
Here’s where Janus Pro caught me off guard. I fed it a generated image and asked, “Describe the person in this photo.”
Instead of generic crap like “a man sitting”, it returned:
“A man in a red short-sleeve shirt typing on a laptop, slightly hunched over with a neutral expression. The background is dark with subtle noise.”
That’s… oddly specific? Even picked up posture and expression.
Video Prompting Works (With Caveats)
I tried piping Janus Pro’s image descriptions into AnimateDiff for video generation. The key was prompting it for motion:
“Convert this description into a video prompt with camera movement.”
It output stuff like:
“A man in a red shirt typing on a laptop, slow zoom-in, slight head tilt as he focuses.”
When fed to AnimateDiff, the results were hit-or-miss—some clips had smooth motion, others glitched. But for zero manual prompt engineering? Not bad.
Final Thoughts
Janus Pro isn’t replacing SDXL or SVD anytime soon, but it’s shockingly competent for its size. The image understanding alone makes it worth keeping around for auto-prompting workflows.